Pipkins or Thimble-holders
Wednesday, August 3rd, 2016Mimi has made the pipkins for several years now. She started making these cute little holders to keep the grandchildren away from the thimbles. Several people have inquired about these, so we thought this would be a good start for our little adventure.

For this project you will need the following list:
- fabric of your choice
- glue
- felt
- cardboard (cracker box or cereal box)
- quilting thread
- thread that matched the fabric you used
- frixion pen ( this pen will disappear when heated)
- embroidery thread ( optional)
First thing, draw a football shape the size you would like your pipkin. We used the dimensions 3 1/4th in. by 1 3/4th in. These can be made any size you would like.


When you have these the size you would like, cut 3 out of the cardboard.

At this point, you will need three more about 1/8th in. smaller. These will form the interior of the pipkins, once you have done this lay these aside we will come back to them a little later.
Now take the larger cardboard shape footballs and glue one side of them to a piece of felt as shown in the picture below.

Once dry cut them out.

On the three larger football shapes, draw the outline using the frixion pin onto the fabric and embroidery if desired.

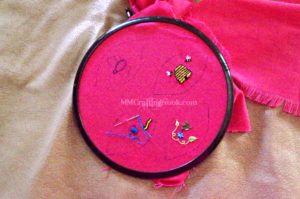
Once you have completed this, you will need to cut out the football 1/2 in. larger than the drawn lines on the fabric.

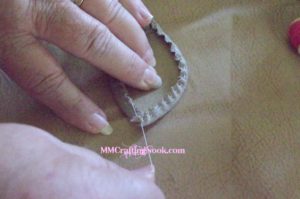
You will need to use a gathering stitch about 1/8th in. from the outside of the football shape.

Before gathering the football, place the cardboard/felt shape, that we previously glued, placing the felt side down, then pull one side so it will gather around all the sides as shown in the following picture. All three of the larger shapes should be done the same way. You will also need to gather the fabric around the smaller shapes, that we have set aside earlier. These smaller shapes do not have the felt glued on them.
Glue the wrong sides of the small and large pipkins together, and clamp until they are completely dry. We normally do them and leave them clamped over night.

Now they are ready to be stitched together. Hold the bottom side and one side together and stitching them together with a blind hem stitch. This will hold the two sides securely together.

Once that side is completed, the remaining side needs to be done the same as the side you just completed. Leaving the top side open but stitching about 1/2 in. on each side to secure it together.
The opening or mouth of the pipkin should look like the following picture:

The finished products

If any of the ink from the fixion pen remains, heat it with a blow dryer and it will fade away.